And there’s a lot of new additions in the HD Zodiac Age version that makes it super fun to replay. There’s also tons of areas with a few dungeons strewn about the world if Ivalice. For this ranking we’ll take a look into the absolute hardest dungeons you can traverse in The Zodiac Age. We’ll look into what exactly makes them so difficult depending on party level, enemies, and bosses.
5. Barheim Passage
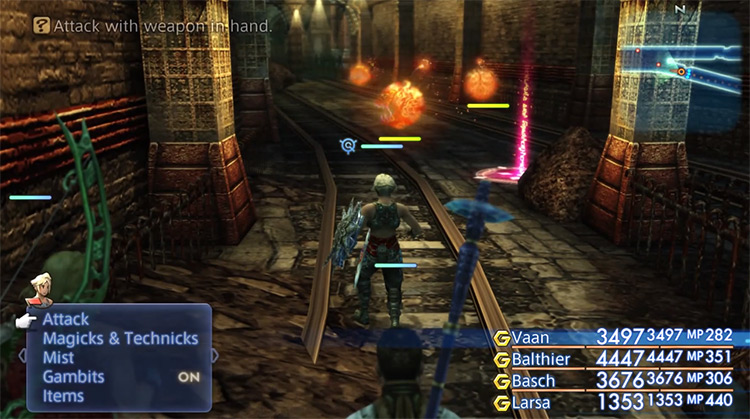
Barheim Passage is a very early dungeon that there’s no returning from, only moving forward. Basch joins the party for this dungeon, so it should be easier… right? Well there’s a merchant early on in the dungeon who sells some very important items, specifically potions and the Cure magick. What makes this dungeon so hard is that you can be thrown into it at a very low level. You also don’t have many gambits available this early on, so it can be tricky to deal with new enemies. Persistence is key here. Keep your HP high and take it one fight at a time. And remember that Basch has gambits that can be changed if you’re running into problems.
4. The Pharos at Ridorana
Now this dungeon is the gauntlet that just keeps giving. Luckily, you have some save crystals throughout that will help along this journey of pain. Even the first boss fight before entering the tower is the Hydra – which can afflict Confuse on the party. Keep up with your buffs for this fight, such as Bubble, Protect, Shell, and Haste. Pharos is separated into three “Ascents” that each have their own tricks to them. The first two Ascents have a long path to travel up, with various difficult bosses along the way: Boss Pandaemonium – Dispel the boss and watch out for Blind and Petrify on your party. Boss Slyt – Dispel and Slow the boss. It’s weak to Fire magick. Boss Fenrir – Casts Blind and Silence. Dispel the Bravery status from the boss. In the Second Ascent, to progress forward you’ll need to trigger one of four altars, but with consequences… Altar of Knowledge – Pink – removes mini-map Altar of Steel – White – removes Attack command Altar of Magicks – Purple – removes Magick casting Altar of Wealth – Yellow – removes ability to use items Next up is the Third Ascent, and the final three bosses. If you’ve made it this far then the gauntlet is almost over! Esper Hashmal – Can afflict Disease on the party. Float can be useful for some attacks. Boss Gabranth – Dispel him. Keep party buffs up. Boss Cid and Esper Famfrit – Both weak to Fire magick. Use Esuna when hit with Silence.
3. The Ancient City of Giruvegan
Giruvegan may not be the longest dungeon in the game. But it certainly has some tricks up its sleeves. The entry Gates are very short and straightforward, with a boss blocking your progress. At least there’s a save crystal nearby, so tweaking gambits and strategies won’t be difficult. Boss Daedalus – Start out by using Dispel to remove Haste. Daedalus is technically Undead, so using Reflect and curative magick on your party is a decent way to burn his health down rapidly. As you move onto the Water-Steps, you’re likely to run into the Disease status effect which you may not have seen before. The Disease status will set the character’s current HP as their max HP after taking damage. Combined with Poison, this can quickly decimate the party. You can cure Disease with a Serum item, or the Cleanse magick. Or a remedy with the Remedy Lore 3 license will also cure Disease. At the end of the Water-Steps is the final boss of this dungeon, Tyrant. Boss Tyrant – This boss is weak to Ice magick. You can also use Reflect to send Tyrant’s magick attacks back at it, but healing magick will also reflect off the party without an Opal Ring equipped on the healer. This tricky maze of locked gates, switches, invisible platforms, and numerous enemies makes Giruvegan a mess to get through.
2. Necrohol of Nabudis
Now this dungeon is clearly an endgame area, even though it’s available early on. Many difficult enemies block your path, so good luck if you stumble into this by mistake. And there are no save crystals throughout this dungeon. Even so, the main reason to clear this dungeon is for the powerful Esper Chaos. There’s a long journey to find the Three Medallions necessary to access Chaos’ chambers in the dungeon. You can find a solid guide to those medallions right here. With the three medallions in hand, you’ll then be able to fight two prior bosses in the Necrohol that will unlock the way to Chaos. Boss Humbaba Mistant – This boss has a lot of HP, but isn’t very difficult to defeat. Keep your normal buffs up and watch out for the Disable status effect. Boss Fury – This boss has high evasion so it’s harder to hit. Using magick attacks will help. Dispel Fury whenever it has the Berserk status effect. With the two bosses down, your previous medallion will become the Medallion of Might, allowing you to access Chaos’ room: The Crucible. Esper Chaos – The Attack command won’t be usable during this fight as well, so Magick will be the key to victory. Focus on taking down the floating orbs first and then the boss.
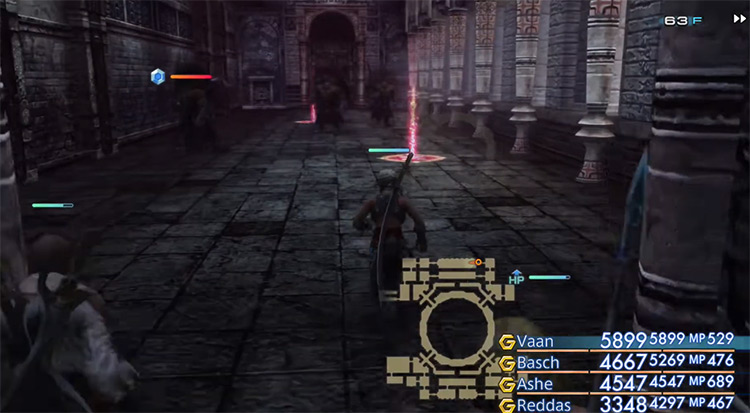
1. The Great Crystal
It shouldn’t surprise anyone that a final boss like the level 99 Omega Mark XII makes Great Crystal the most difficult dungeon in Ivalice. Not only that, but the area is confusing to navigate. And there’s no mini-map. There will be the Shemhazai Esper fight along the way, which is fairly simple to defeat. But the real reason you’re here is to acquire the Ultima Esper and defeat Omega. Esper Ultima – You want high Magic Resist for this fight. Pick up some White Masks and Sage’s Rings for the party. Different Magick barriers make this fight difficult to contain. Keep your buffs up, Dispel when needed, and consider Reflect. With Ultima in your arsenal, it’s then a good time to take on Omega! Omega Mark XII – Reflect can be your greatest ally in this fight. You can also use Wither to weaken Omega’s attacks. Keep all your buffs up since this level 99 boss has over a million HP. It won’t be a quick fight. As a whole, The Great Crystal is quite deadly with some very difficult superbosses. The lack of a decent map system makes it that much more frustrating. And if you try it out yourself then you might see why it could be called the most difficult dungeon in all of FFXII.